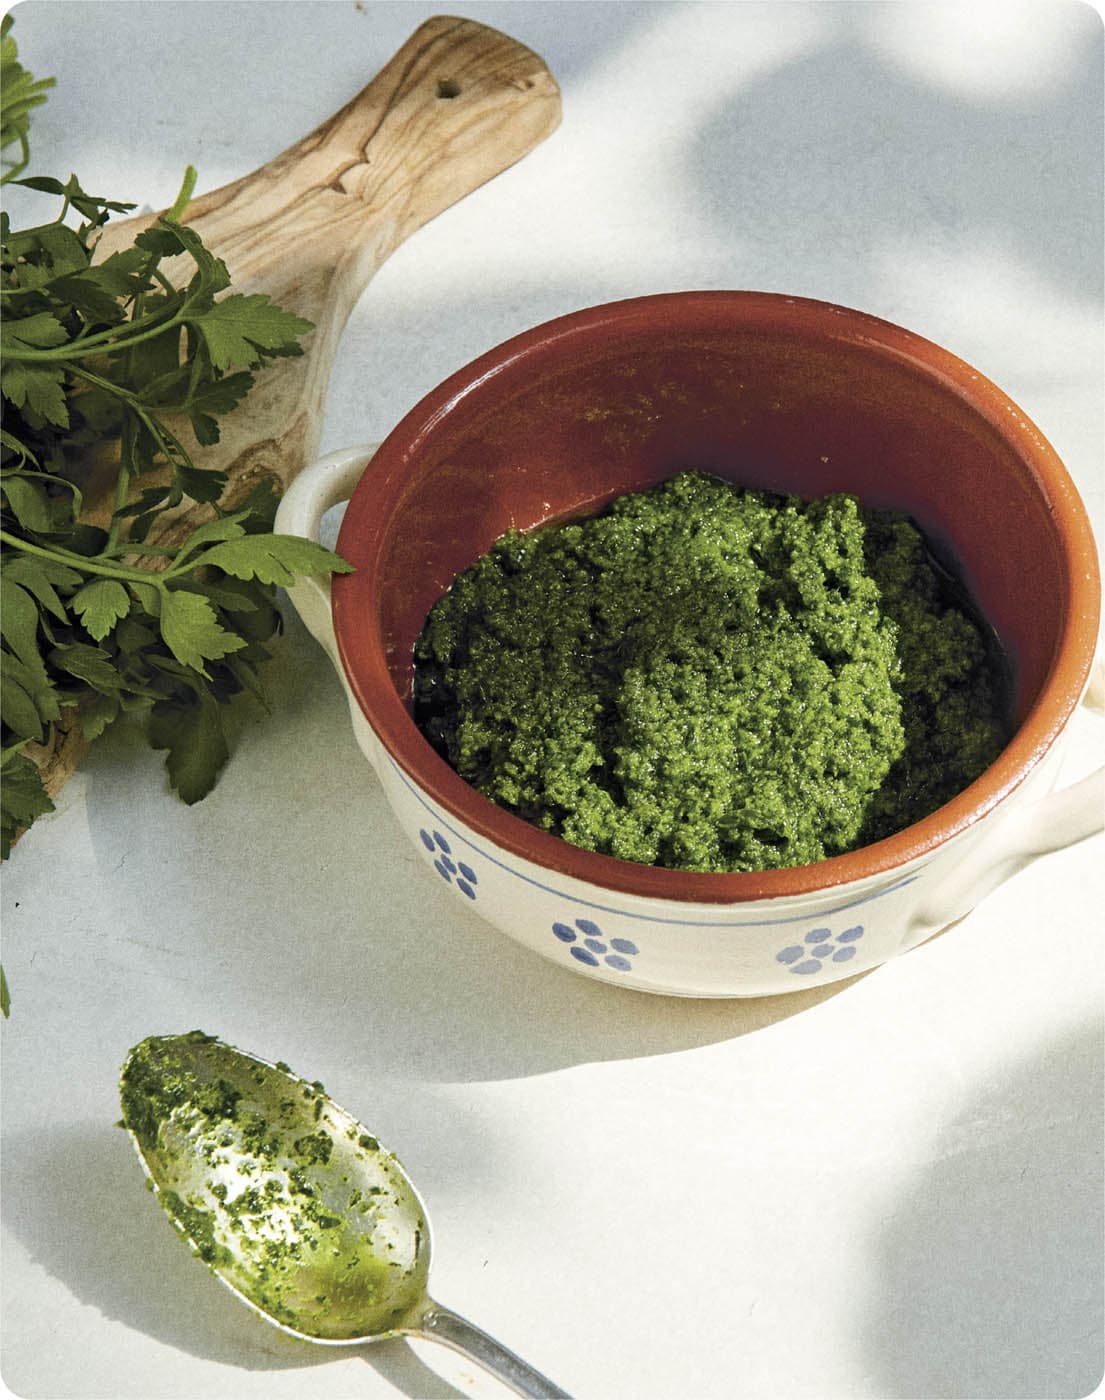
Italians are crazy about pesto! It’s way more than an additional extra to your meal – in fact, it’s THE cornerstone of countless recipes across the Boot. Particularly in pasta and focaccias, but it’s also a crazy-good accompaniment to burratas. You could almost call it ‘green gold’. If your eyes turn out to be bigger than your stomach, rest assured that your pesto will keep for 4–5 days in an airtight container. Far be it for us to suggest that you’re being greedy.
PER 4 AMICI
150g (5½oz) basil
60g (2oz) Parmigiano Reggiano, roughly grated
35g (1¼oz) pecorino, roughly grated
35g (¼ cup) pine nuts, toasted
1 garlic clove, peeled and with the middle sprout removed
100ml (scant ½ cup) extra-virgin olive oil
5g (1 tsp) coarse salt
1Wash the basil leaves under cold water. Wipe them with a cloth to remove any moisture. If you have enough time, you can just leave them to dry for 5–10 minutes on the edge of the sink.
2Put the garlic clove in a blender (or you can use a hand mixer). Add the toasted pine nuts. Blend until you obtain a smooth purée.
3Now add the basil, salt and cheeses. Blend again, quickly but not at full power, to avoid cooking the basil and causing it to blacken. Drizzle in the olive oil on top and transfer the finished pesto to the fridge.
BONUS TIP
Here’s how to make another version of pesto cherished by the inhabitants of Trapani, Sicily: ‘pesto alla trapanese’. The cool news is that the recipe is nice and simple: just replace the pine nuts with 50g (⅓ cup) toasted almonds, blend then add 3 basil leaves and some Datterini tomatoes chopped into quarters, and blend again. A drizzle of olive on top just before serving, and BAM – a pesto with a difference!
A MINUTE TO SPARE?
Cull your clothes. We know you’ve been putting it off, but think how nice it’ll be to be able to shut your dresser doors.
◁ TRADITIONAL SALSA VERDE
Green sauce with anchovies, capers and eggs
Otherwise known as ‘bagnet verd’ in the Piedmontese dialect. This traditional recipe is often used to accompany less noble pieces of meat (head, tongue, etc.) to make ‘i bolliti’. We prefer to serve it, however, alongside our tagliata. Epic.
PER 4 AMICI
20g (¾oz) anchovies preserved in oil
15g (2 tbsp) capers preserved in salt
1 garlic clove, peeled and with the sprout removed
2 eggs
100g (1 cup) breadcrumbs
140g (5oz) flat-leaf parsley
40ml (2½ tbsp) white wine vinegar
150ml (⅔ cup) extra-virgin olive oil
Salt QB
1Boil 2 eggs in a saucepan for 8 minutes. Reserve at room temperature. Put the breadcrumbs in a bowl and leave them to soak in the white wine vinegar for 10 minutes. Meanwhile, chop, separately, the garlic clove, parsley, anchovies and capers.
2Once the eggs are cooked, shell them and separate the whites from the yolks. Put the yolks in another bowl and mash them with a fork to obtain a smooth paste.
3Add the capers, garlic, vinegary breadcrumbs, parsley and anchovies. Mix thoroughly until the sauce is smooth and even. Now, stir in the olive oil.
4Add salt ‘a sentimento’, as Virginia likes to say (that means as much as feels right to you, the chef). Watch out for your blood pressure, though, because the capers and anchovies are already swimming in salt. Finally, put the sauce on the table with several spoons, so that everybody can help themselves.
A MINUTE TO SPARE?
You can phone up your grandparents to say hello. Family is everything, after all.
◁ FONDUE FOR 2
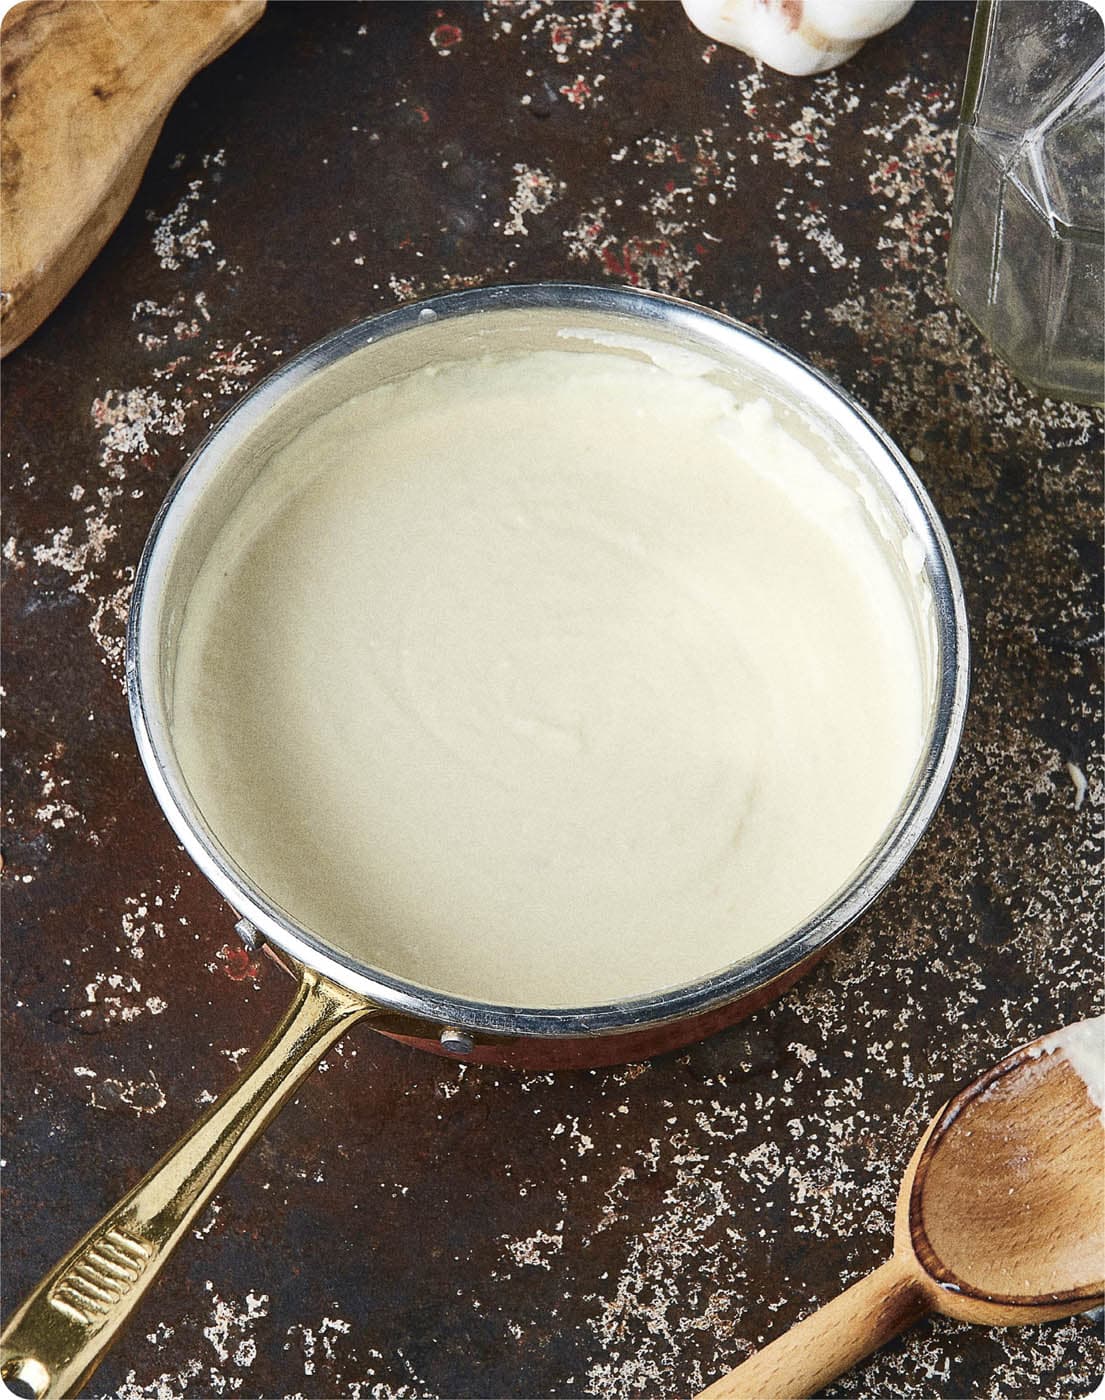
Parmigiano fondue (or gorgonzola if you prefer)
You can find this heavenly cream in several recipes throughout this book (Gnocchi ai 4 Formaggi, for example). It’s a little miracle and we hope you'll be fond-ue of it too.
PER 4 AMICI
500ml (2 cups) double/whipping cream
130g (4½oz) Parmigiano Reggiano (or gorgonzola)
10g (2 tsp) coarse salt (never fine salt – never, never)
1Heat the cream in a saucepan, simmering gently to reduce it. Allow the moisture to evaporate and the cream will thicken to half its size. Remove the saucepan from the heat and add the Parmigiano (or some chunks of gorgonzola).
2Whip the mixture into a smooth cream. Pass it through a sieve (or colander) into a bowl.
3Cover with clingfilm in direct contact with the cream. NB: this contact is essential – any space between the clingfilm and the cream would create condensation, making the sauce watery. Leave to cool for around 15 minutes to allow everything to stabilize.
A MINUTE TO SPARE?
Watch a replay of the penalty shoot-out between Italy and England in the 2020 Euros – although, if you prefer to revel in the rare event of an English victory over Italy, you could rewatch their match in the 2024 Euro qualifiers.
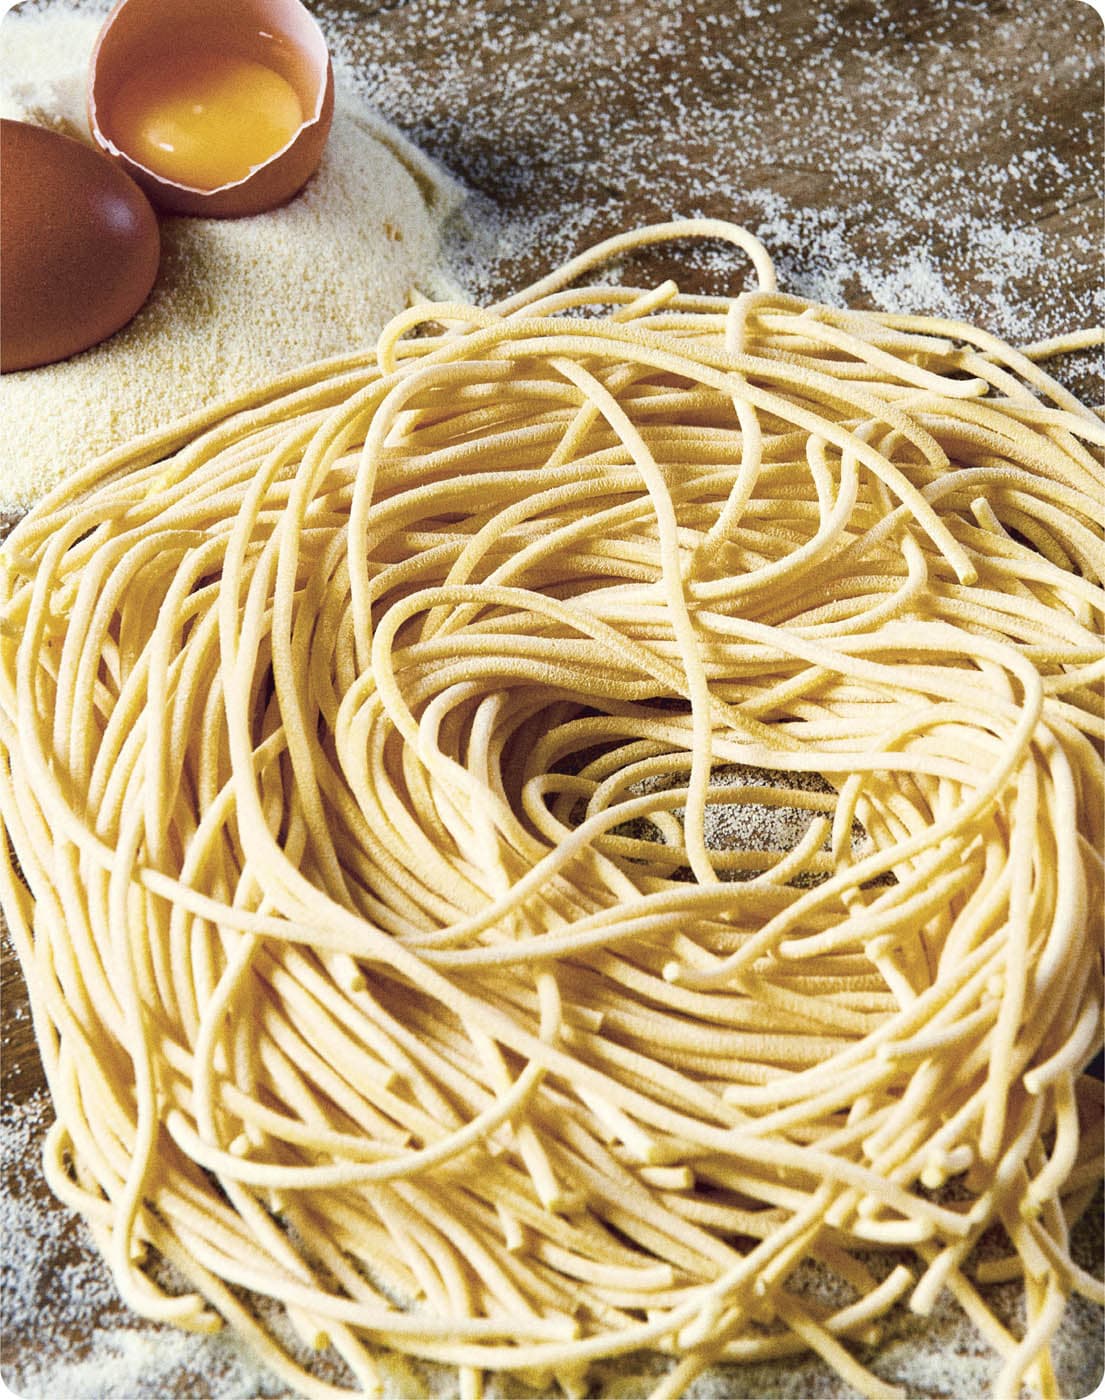
◁ PASTA FRESCA
Our secret recipe for perfect fresh pasta
Italians always have some dough in the fridge, ready to make a last-minute pasta dish that’ll save the day.
PER 4 AMICI
400g (2 ⅔ cups) 00 flour
4 large eggs (or 7 small ones)
1Heap the flour on a work surface and form a crater in the top. Break the eggs into the middle of the crater then beat them with a fork, gradually incorporating more and more flour to obtain a ball of smooth dough.
2Knead the ball for 10 minutes to make the dough really smooth (now’s the time to get stuck in – make the most of it!). Cover with clingfilm and put in the fridge for at least 30 minutes. Ideally, you’ve had the opportunity to prepare your dough the day before. In this case, wrap the dough ball in clingfilm and put it into an airtight container, to prevent it from drying out.
A MINUTE TO SPARE?
We're going to let you in on our favourite food and wine pairing. Spaghetti alle vongole with the white wine Vermentino di Sardegna: with its intense but fresh notes, it evokes the sea. The ultimate combo to while away an evening. So, now you know what to ask for the next time you go to a wine shop.
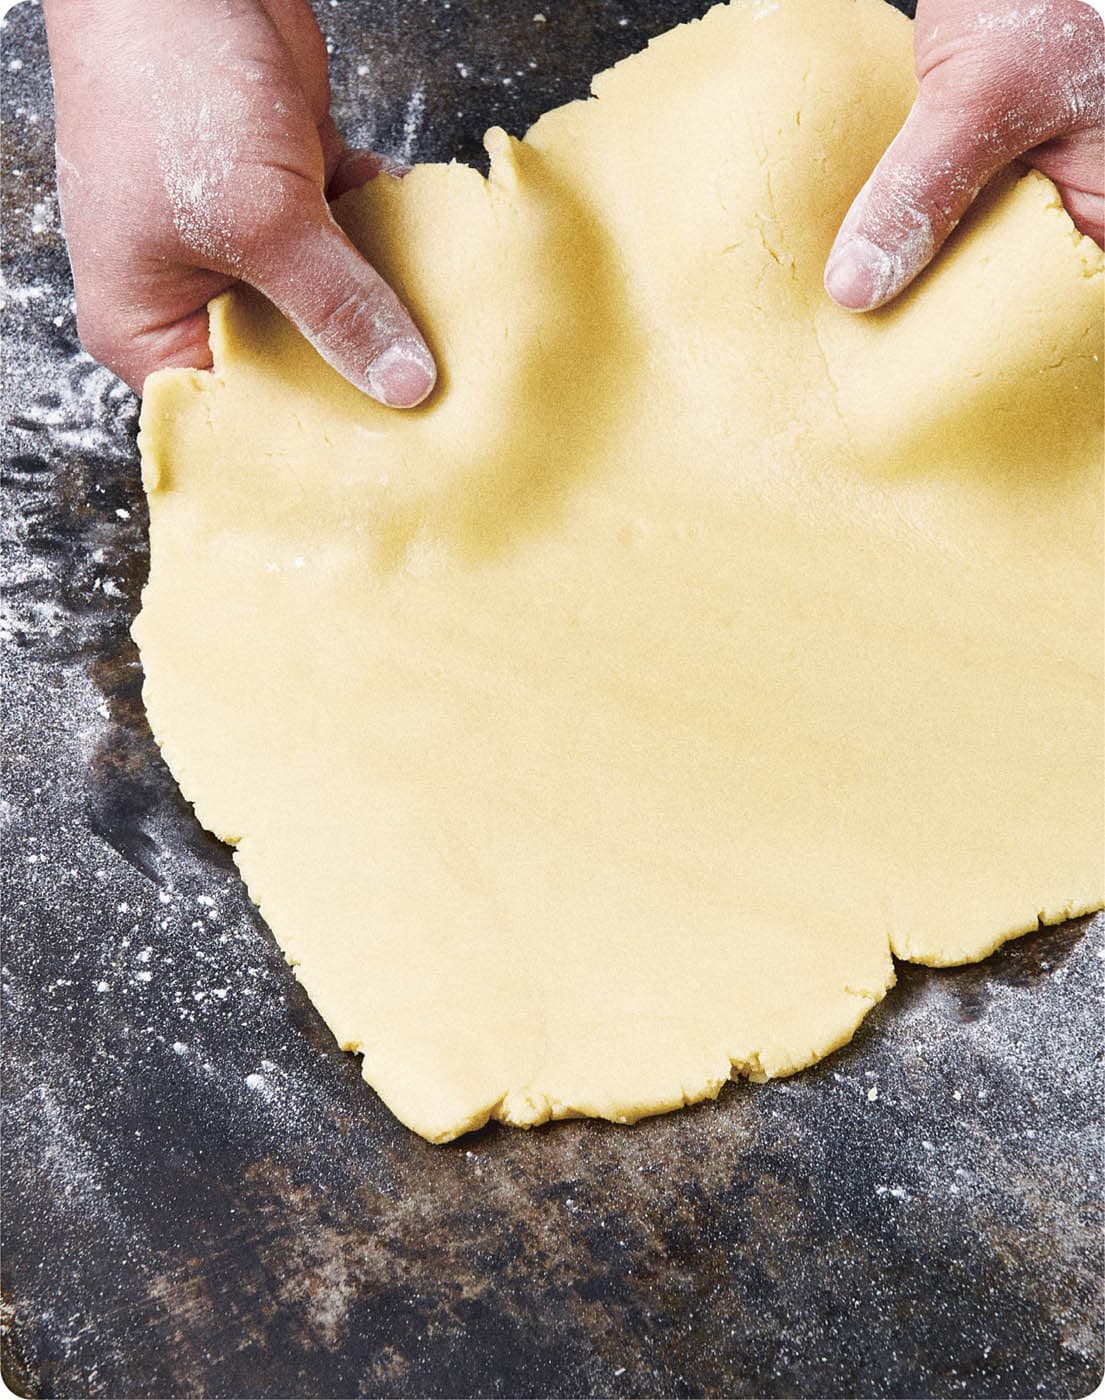
◁ PASTA FROLLA ITALIANA
Sweet shortcrust pastry for wonderful pies and tarts
This dough can be used not only for pies and tarts, but also for biscuits. Sweet treats are made of these!
PER 6 AMICI
1kg (8 cups) plain flour
250g (1¼ cup) granulated sugar
600g (1lb 5¼oz) butter, cut into cubes
1 egg
4 egg yolks
Salt QB
1Use a food processor to blend the flour, sugar, salt and butter. Once the dough acquires a sandy consistency, add the whole egg and egg yolks and blend again.
2Remove the dough, knead it into a ball and cover it with clingfilm. Put in the fridge for at least 2 hours. Turn back to the list of dolci and may the party start.
A MINUTE TO SPARE?
Think of your 3 favourite memories in the past 2 months, to remind yourself that ‘la vita è bella’.
GLOSSARY OF ITALIAN CULINARY TERMS
1ANTECARE A word that has no exact Englishc translation. It’s a technique that makes it possible to vextract the starch from pasta and rice by creating an emulsion between the lean and fatty parts of a dish. More specifically, it involves mixing pasta and butter off the heat to give a sauce a super creamy texture.
2GRATTUGIARE Again, there’s no exact equivalent, but it means to grate an ingredient very, very finely. Italians apply the term liberally, but especially to Parmigiano grated to a fine dust and to lemon zest.
3AL DENTE This is THE moment, il momento, when pasta should be removed from water. When it is just cooked, but not too much. The literal translation is firm ‘to the tooth’.
4SCOTTA Pasta that is scotta has been overcooked. Not only that – it’s far more difficult to digest. Set your timer – pasta is no joke.
5ALVEOLATA When a pizza is airy or fluffy. It’s the highest possible praise for a Neapolitan pizza.
6FORMAGGIO Beware of the trap here; it is not ‘fromage’ as in France. The ‘r’ is after the ‘o’ and not before. But either way, just take a bite and enjoy it. Life is short.
7ROSOLARE This means to brown meat by cooking it very slowly. A nice word for a nice moment.
8SCHISCETTA The lunchbox that you take to the office for your break, containing food that you prepared the day before. We hope that this book will provide you with tomorrow’s schiscetta.
9STRABUONO You won’t even find this word in a dictionary as it’s a slang term that combines stra (extra) with buono (good). We use it when a dish is particularly heavenly.
10SBRODOLARE This is what happens to messy eaters who don’t manage to get all their meal to stay in their mouth, at the expense of their clothing. The next time you splatter spaghetti sauce over your shirt, you can say you’ve sbrodolato (for a man) or sbrodolata (for a woman).
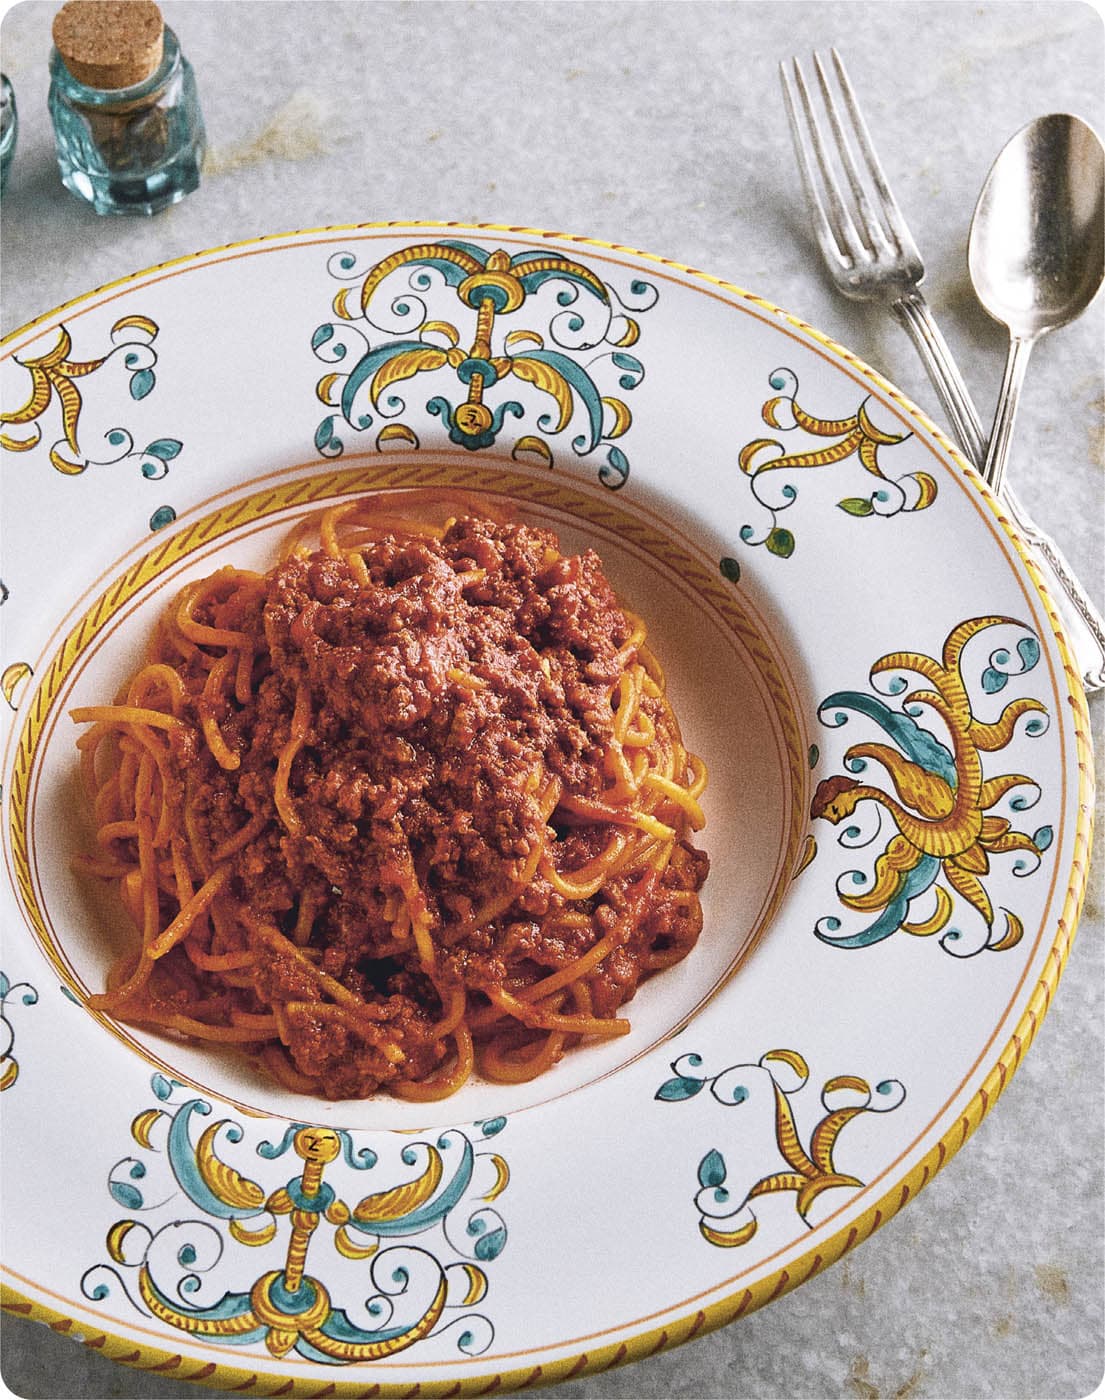
◁ RAGÙ BOLOGNESE
The classic ragù using 3 meats and tomato
But let us warn you – it will take far longer than 30 minutes. Maybe even 8 times as long . . . The trick is to prepare the ragù in bulk and keep plenty in the freezer for a rainy Sunday when you need cheering up, or for any other time when you need ‘self-care’ – this is the least that you deserve.
PER 4 AMICI
200g (7oz) minced beef
100g (3½oz) minced veal
100g (3½oz) pork sausage meat
50g (1¾oz) carrots, finely chopped
60g (2oz) yellow onions, finely chopped
60g (2oz) sticks of celery, finely chopped
50g (3½ tbsp) tomato paste
250g (9oz) tomatoes, peeled (San Marzano, ideally)
1 large glass of red wine (you drink the first half and pour the second in the pan)
½ glass of whole milk
1 bouquet garni of your choice (providing there’s no parsley, basil or rosemary – these are taboo in this recipe)
Extra-virgin olive oil QB
Salt QB
Pepper QB
1Pour olive oil into a saucepan then apply the strict 30-minute rule of Salvatore’s grandmother, who is from Emilia-Romagna, the birthplace of bolognese: cook the meat very slowly for 30 minutes till it is golden brown.
2After those 30 minutes, pour in the red wine (what’s left of it) then add the chopped vegetables. A further 30 minutes later, add the tomato paste.
3After 30 more minutes, add the peeled tomatoes, milk, bouquet garni, salt and pepper. Leave everything to simmer for 4 hours (it has to pippiare, or chirp, as they say in Naples).
Bravo! You’ve worked hard but you can see that it was well worth the effort. You’ve created an elixir that will guarantee to make everybody happy: you, us, and all the guests lucky enough to taste your ragù.
A MINUTE TO SPARE?
Check the mirror to ensure none of the tomato sauce has ended up over your T-shirt. If it has, don a tash and you’ll look like an old Sicilian gentleman.
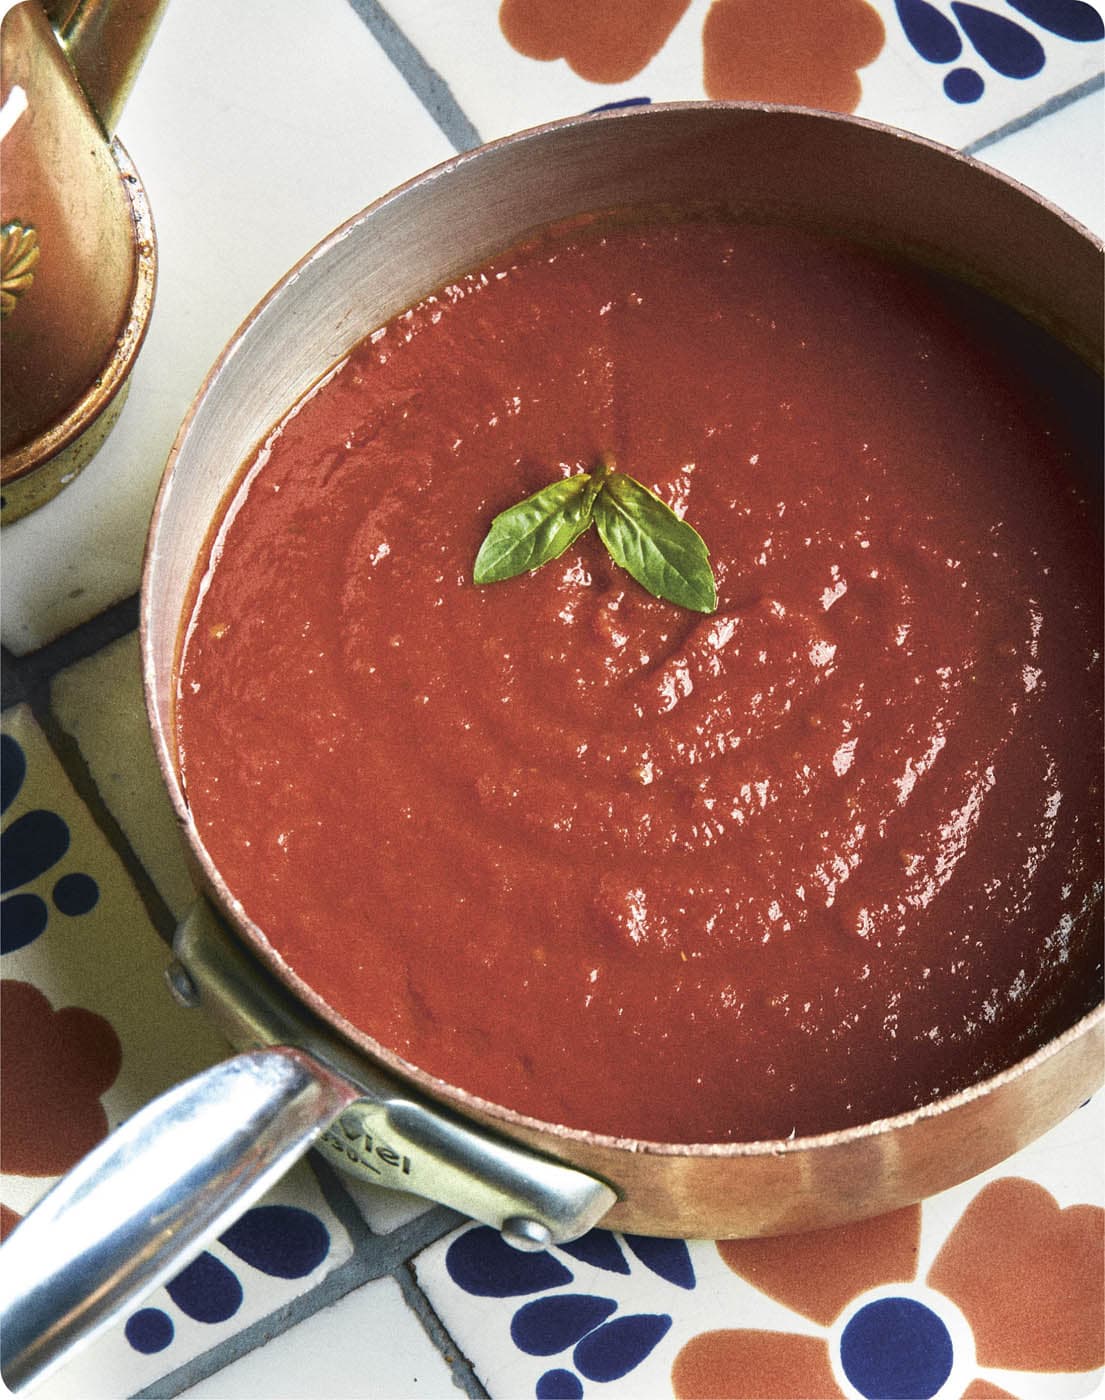
◁ CHOOSING (OR MAKING) A GOOD TOMATO SAUCE
Selecting a tomato sauce in a deli requires a little detective work.
Here are the 3 clues provided by our chef Salva for your quest for a partner in crime:
1 Check the amount of sugar added to the sauce. If there’s a lot, it means that the tomatoes are poor quality.
2 Make sure there are no preservatives. Only tomatoes and salt are needed.
3 Look for an organic certification. If the sauce that catches your eye is thus labelled, so much the better.
And, last but not least, the tomatoes must come from Italy. Try to shop in small neighbourhood delis as much as possible. If you’re a real purist with some time on your hands, we’ll show you the secrets of the ultimate tomato sauce that Albi’s grandmother prepares every summer with fresh tomatoes from her garden. Once it’s cooked, the whole family gathers round to put it into jars, with the youngest members entrusted with adding a few basil leaves before the lids are closed. Stock up, so you can enjoy it all year round. It can come in handy for any meal, especially in winter when the mere thought of a tomato warms the cockles of your heart.
FOR AROUND 2 JARS
(depending, above all, on the quality of your tomatoes)
2kg (4½ lb) Datterini tomatoes
2kg (4½ lb) San Marzano tomatoes
1 bunch of basil
Salt QB
1Wash the tomatoes under a cold tap, drain them carefully then chop them into large pieces. Nothing fancy called for here – everything goes straight into a saucepan. Put this pan over a low heat, adding a little salt, and leave to simmer for 2½ hours.
2Blitz the sauce in a blender. You don’t have one? In that case, pass the sauce through a strainer, using a spoon to break down the chunks of tomato. You don’t have one of these, either? Then the time has come to ask your neighbours – and get to know them better.
3Once you’ve got your strained sauce, add some basil leaves, and that’s it – you’ve just made the best tomato sauce in the world.
4If you’re planning to keep it in your larder like Alberto’s grandmother, make sure you sterilize your jars in boiling water for 45 minutes. Then fill them with the sauce (to around 2 cm/¾in from the top) and close them tight. Now they’re ready to accompany you throughout the winter.
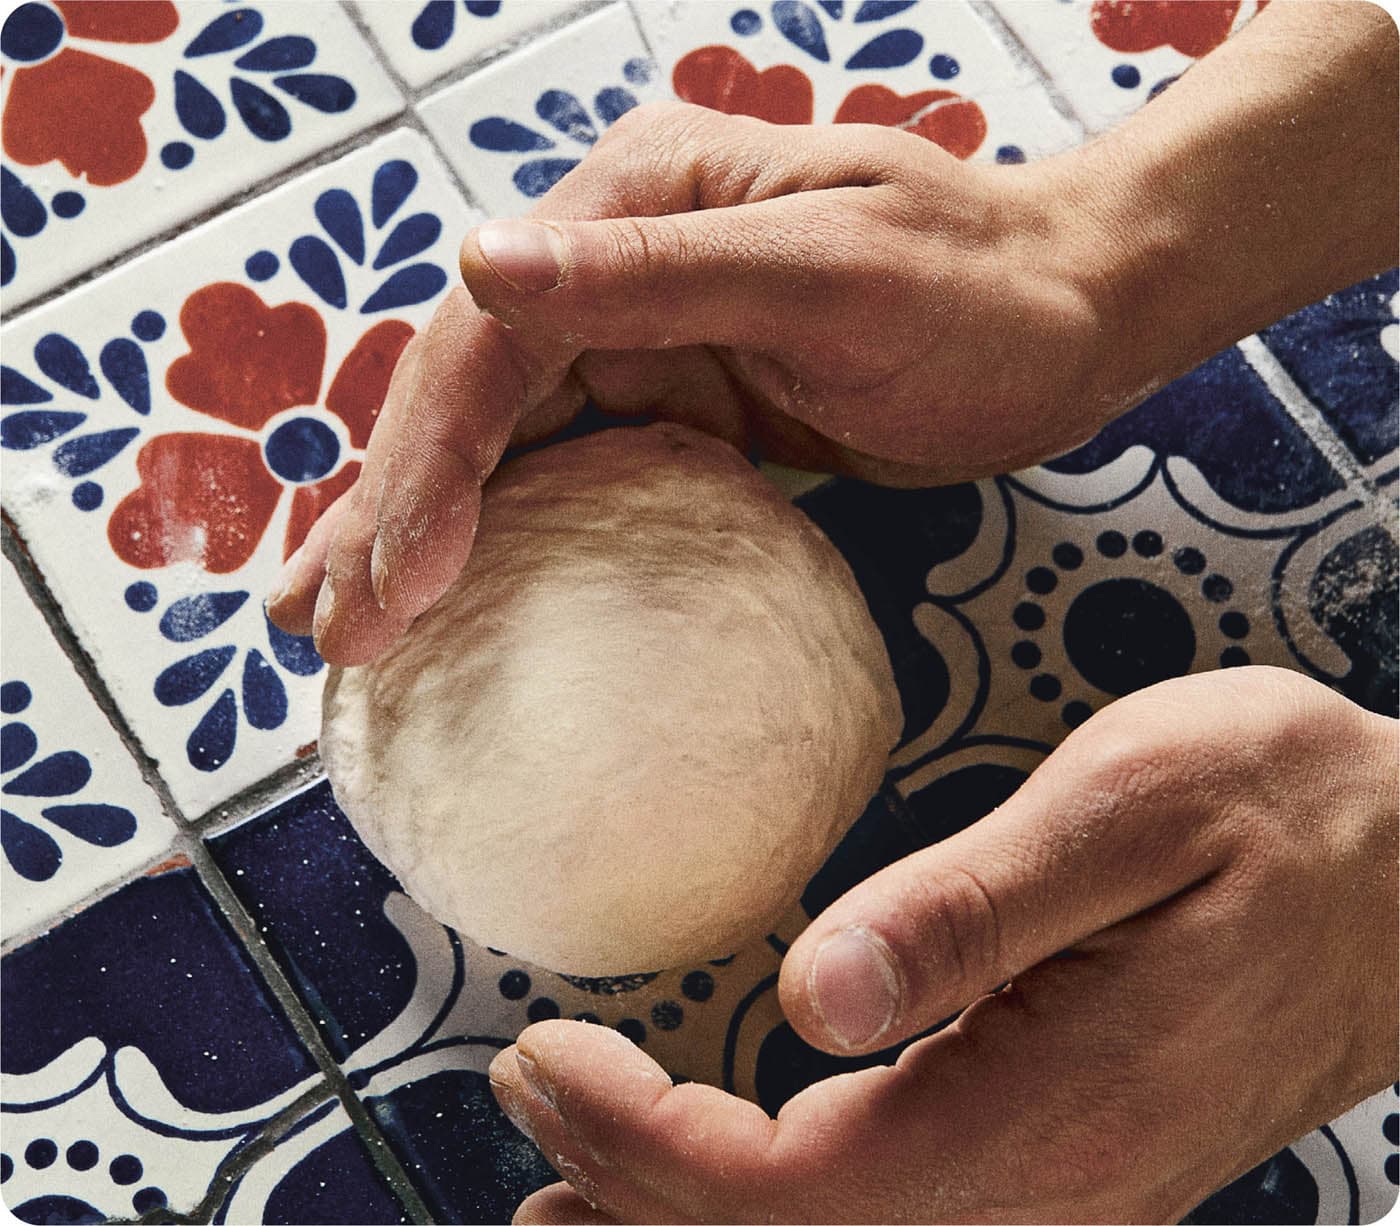
◁ PIZZA DOUGH
Or how to become the best pizzaiolo in your neighbourhood
PER 4 AMICI
1kg (8 cups) flour (ideally, type 55 flour with a minimum protein content of 12%)
2.5g baker’s yeast (4g if your yeast is fresh and not dried)
700ml (3 cups) water
30ml (⅛ cups) extra-virgin olive oil
25g (6 tsp) salt
1Use a food processor to mix the flour and yeast, kneading for 8–10 minutes at speed no. 1 (this is important – precision is crucial when it comes to dough). Slowly dribble in 560ml (2¼ cups) water over the course of the kneading. Once the dough is smooth, add the salt and move to speed no. 2 (go go go!). Pour in the rest of the water gradually over the next 5 minutes or so. The secret for success here is to incorporate the water very gently, making sure that the dough has absorbed it fully before adding more. Then sprinkle the oil on the dough.
2The dough is ready once it’s nice and smooth and doesn’t stick to the sides of the food processor. If you really want to become a professional pizzaiolo, then the ideal temperature at the end of the kneading process is between 23 and 25°C (73–77°F) – no more, no less.
3Remove the dough from the food processor and mould it into a ball. Transfer this ball to a stainless-steel bowl, cover with clingfilm then leave to rest at room temperature for 1 hour. Then transfer the dough to the fridge for a further 18–24 hours. This is the secret of true pizzaioli, the careful maturing of their dough, which also makes it much easier to digest. If you don’t have 24 hours to spare, double the amount of yeast and leave the dough to rest for around 2–3 hours at room temperature.
4If you’ve opted for the 24-hour version (bravo! you’re making pizza just like us), remove the dough from the fridge and leave it to rest (with the clingfilm still in place) for a further hour. When your sleeping beauty has slumbered enough, divide it into portions, of whatever weight you choose, on a work surface covered with a sprinkling of flour or coarse semolina. Cover the portions and leave them to rise till double their size in a container before you roll them out (reckon on around 3–4 hours, as good pizza dough is a story of love and patience).
NOW FOR SOME MATHS
Let’s calculate the appropriate weight for your portions in grams. For a square pizza, multiply the size of the base by that of the height (in cm) and divide the result by 2. Example: for a container measuring 20 x 35cm (8 x 14in), you’ll need 350g (¾lb) of dough. And for a nice circular pizza (for around 4 people), put 250–300g (9–11oz) of dough in a round container around 24cm (10in) in diameter. Tip: pizza dough is your friend. And like all real friends, it’s got a good memory. This means it takes on the form of the container surrounding it. So, if you want a square pizza, leave your dough to rest in a square container. When you unpack it, it will preserve its initial shape. The same is true for a round version.
NO FOOD PROCESSOR? NO PROBLEM!
Knead by hand, sticking to the same stages. Begin with a stainless-steel bowl and, after adding salt, move to a wooden work surface, adding the water very gradually. Then follow the rest of the instructions. If the dough doesn’t fully absorb the water, pause for 10 minutes then resume your manual kneading.
HOW TO ROLL OUT YOUR DOUGH
Sieve a little flour or fine semolina on a work surface. Place your portion of dough on top and spread it out with your fingers to obtain a circle around 30cm (12in) in diameter. Flip it over to ensure that it’s evenly spread over the work surface. Push the air out of the dough with your fingers, going from the centre to the sides, until you end up with a lovely white dough with plump edges.
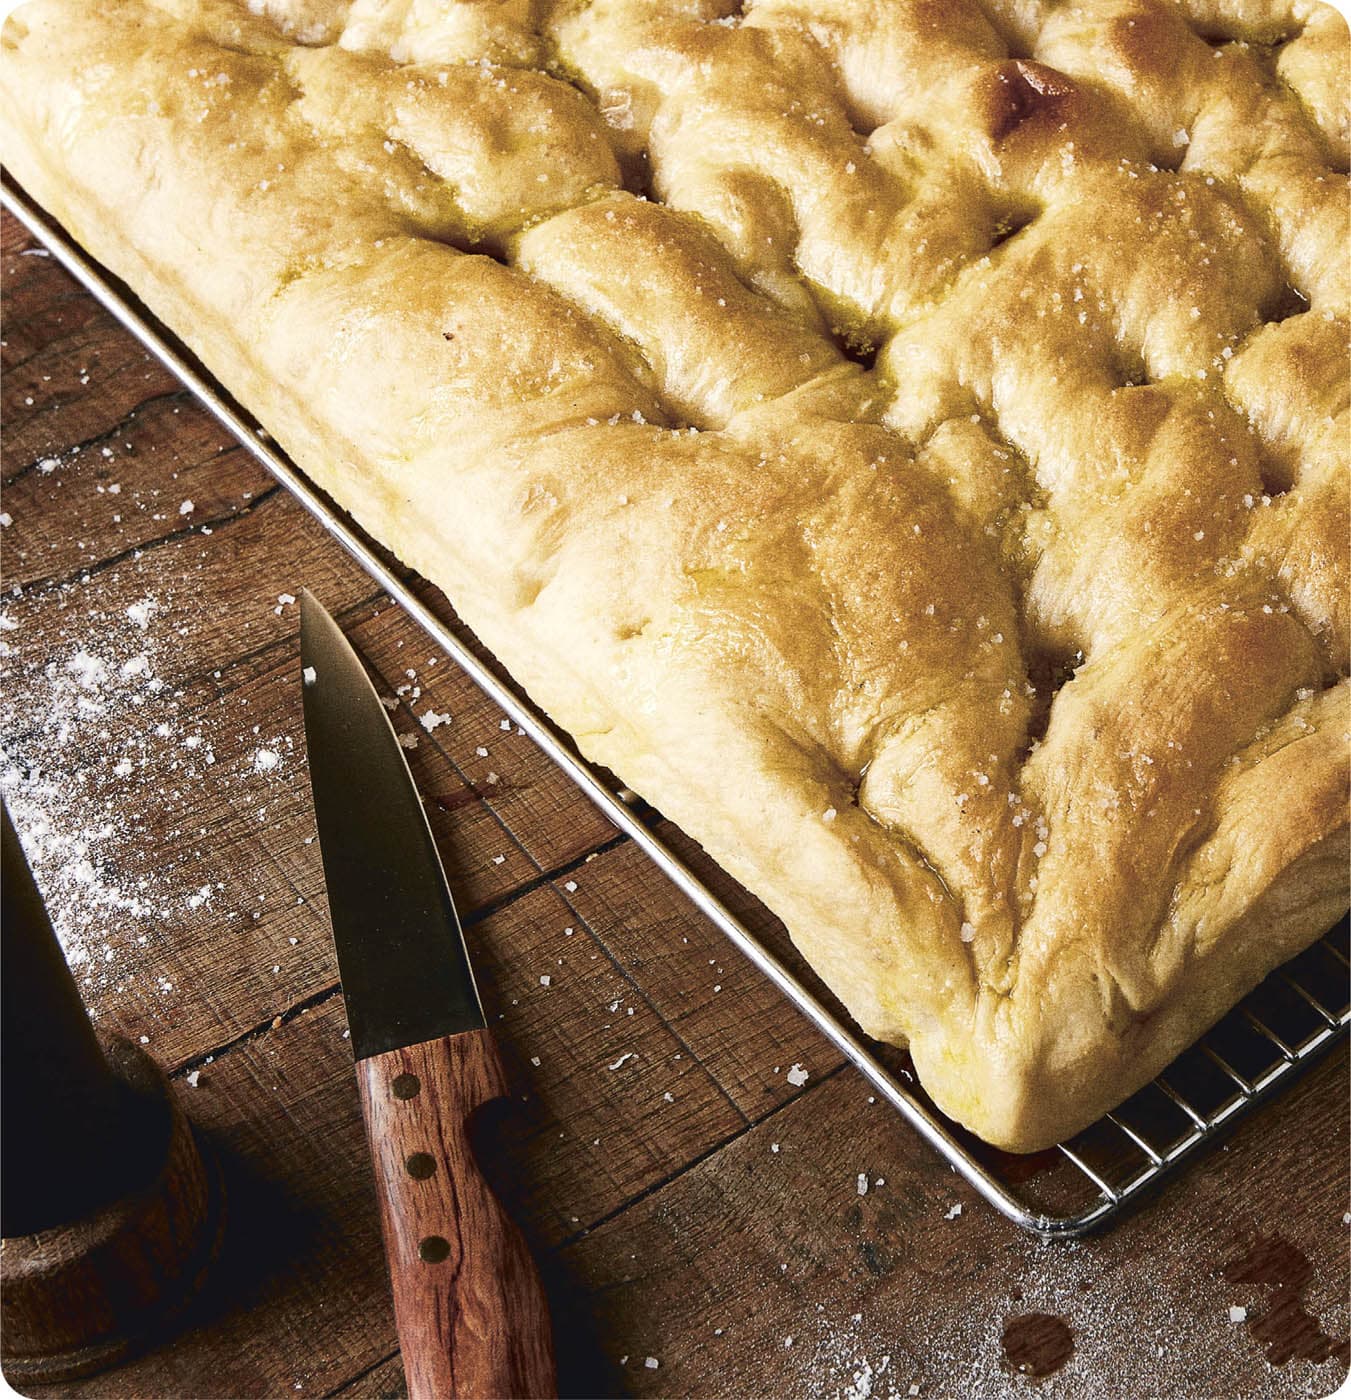
◁ CRAZY-GOOD FOCACCIA
A thick, moist focaccia . . .
. . . seeks a topping to fully commit to making a beautiful recipe.
PER 4 AMICI
For the dough
1kg (8 cups) flour (ideally, type 55 flour with a minimum protein content of 12%)
10g (2 tsp) baker’s yeast (or 24g / 2¾ tbsp if your yeast is fresh and not dried)
10g (2 tsp) granulated sugar
600ml (2½ cups) water
600ml (2½ cups) extra-virgin olive oil
20g (1 tbsp) salt
For the brine
200ml (¾ cup) water
100ml (scant ½ cup) extra-virgin olive oil
5g (1 tsp) salt
1Mix the flour, salt and sugar in a bowl then add the yeast. Incorporate the water and oil, then mix everything with a food processor on speed no. 1 for 9 minutes. If you’re itching to get into second gear, hold yourself in check. The texture is right when the dough is smooth but neither sticky nor hard – otherwise the focaccia could end up rubbery. The ideal temperature for the dough at the end of the kneading is 23–25°C (73–77°F).
2Mould the dough into a ball. Cover it for 10 minutes and leave it to work its magic. After that (and your quick beer break), make small portions of the weight of your choice then leave it to rest, covered, for 30 minutes.
NOW FOR THE MATHS
Calculate the weight of the dough, for a square container, in grams by multiplying the width by the height, then multiply this total by 0.7 (in cm). For example, for a container of 20 x 35 cm (8 x 14in), you’ll need 490g (1 lb) of dough. Spread out the dough with a rolling pin to push out any air bubbles, lay it on a greased baking tray then finish off rolling it out with your expert fingers. While the dough is resting, prepare the brine by mixing all the ingredients with a whisk. When your dough expands to the ideal size (after about 2 hours), make some small holes here and there with your fingers. Then pour on some of the salamoia (brine) to fill up these holes, and leave to rest once again for 30 minutes to 1 hour. Put the dough into an oven heated to 220°C fan/240°C/475°F/GM 9 (with static heat) for 15 minutes. When the dough turns a nice golden colour, add a little more brine. And now the best focaccia of your life awaits you!
A MINUTE TO SPARE?
Wipe your wine glasses with a cloth soaked in white wine vinegar. How long has it been since you last noticed their original sheen? We consider white wine vinegar to be almost part of the family: it cleans, leaves no trace, it’s the cheapest household product ever – and, what’s more, you can use it with food. In short, we’re huge fans.
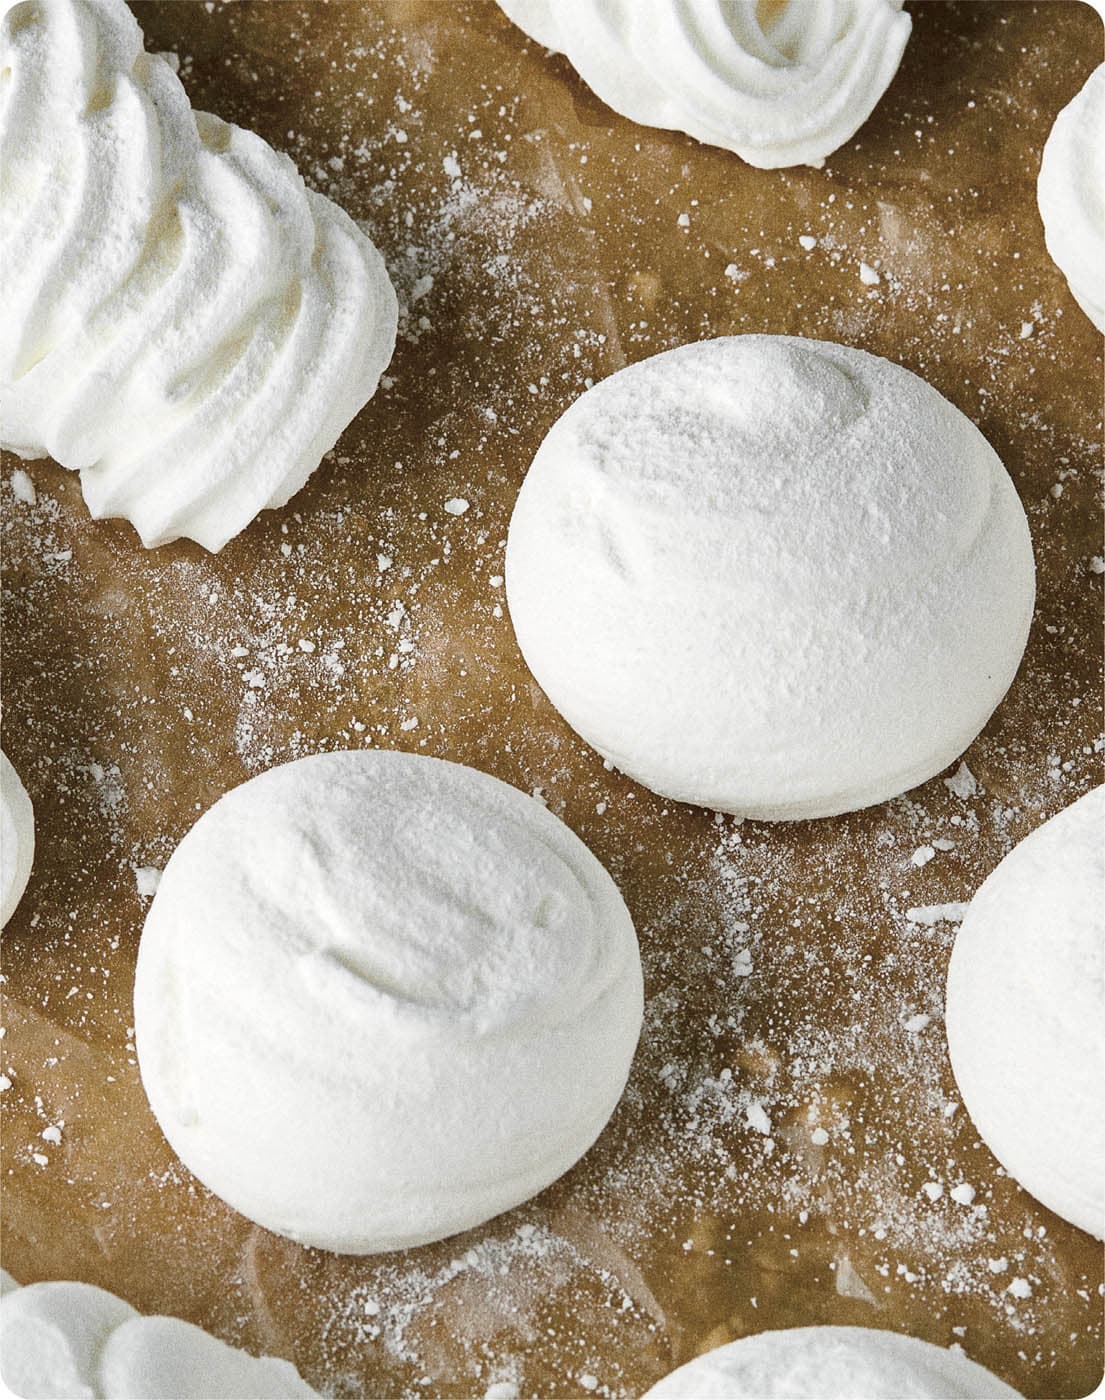
◁ NICE MERINGUES
An easy recipe for meringues so you stop throwing those egg whites down the sink
PER 4 AMICI
150g (¾ cup) granulated sugar
150g (1¼ cups) icing sugar
5 egg whites
60g (½ cup) coconut powder (or 60g / ⅔ cup flakes – you’re the boss)
1Preheat the oven to its very lowest setting. Beat the egg whites and the icing sugar in a bowl with an electric hand mixer (or a hand whisk, if you’re strong and/or don’t have an electric mixer). When the egg whites start to get fluffy, gradually add the granulated sugar to make them stiff and shiny (the consistency is perfect if a ‘bird’s beak’ appears when you lift up the whisk). Transfer the meringue to a baking tray lined with greaseproof paper. Sprinkle coconut powder (or flakes) on top.
2Cook the meringue in the oven for at least 3 hours. They will harden but they should remain white. Bear in mind that meringues are highly sensitive creatures: if you decide to make them on a rainy day, they won’t come out well because they can’t bear humidity. Moreover, egg whites are also averse to even the slightest flecks of grease, which can lead them to refuse to rise in protest.
3If all the planets are aligned, however, and you have made too many, meringues will keep for a week – so you can nibble away at your leisure. (Be sure to store them in an airtight container.) Eat a bit more and waste a bit less – it’s a win-win situation.
A MINUTE TO SPARE?
Read the poem ‘Youth’ by Samuel Ullman. It’ll keep you young at heart . . .